


Description
White Wisteria “Alba” Tree Seeds
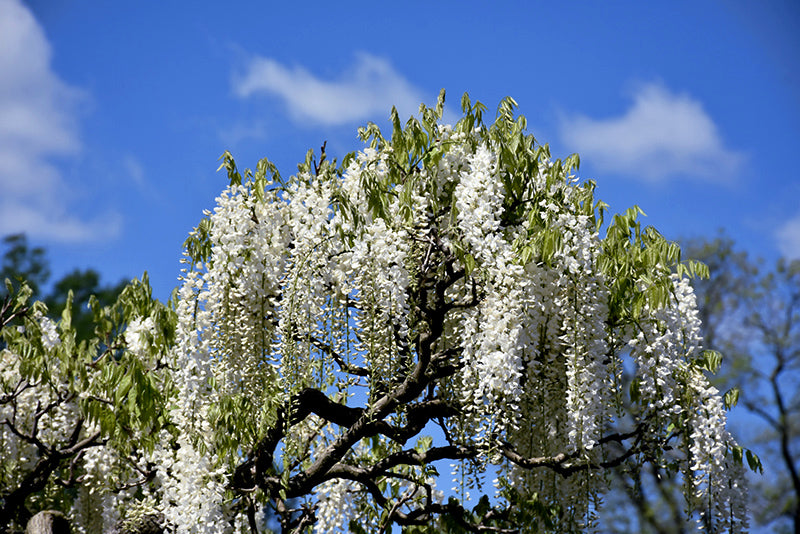
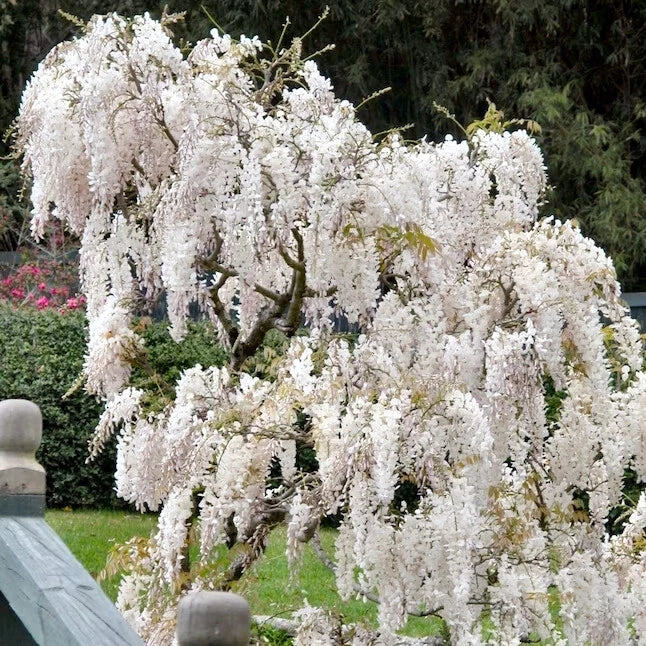
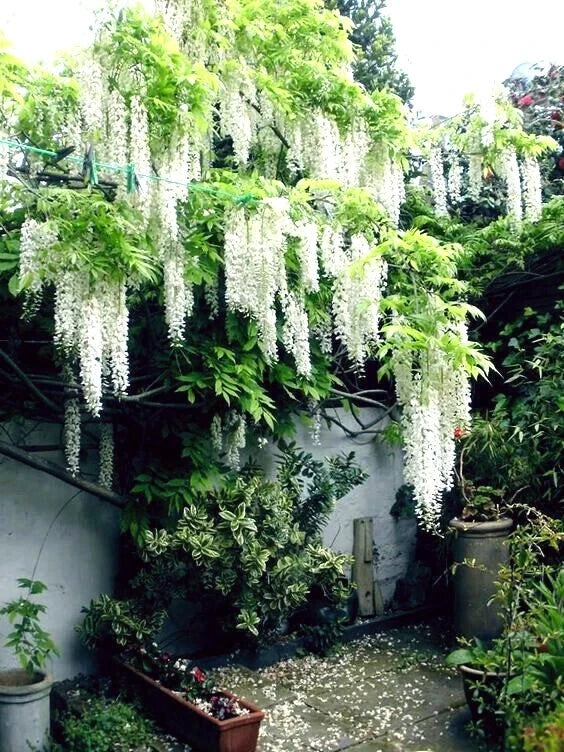
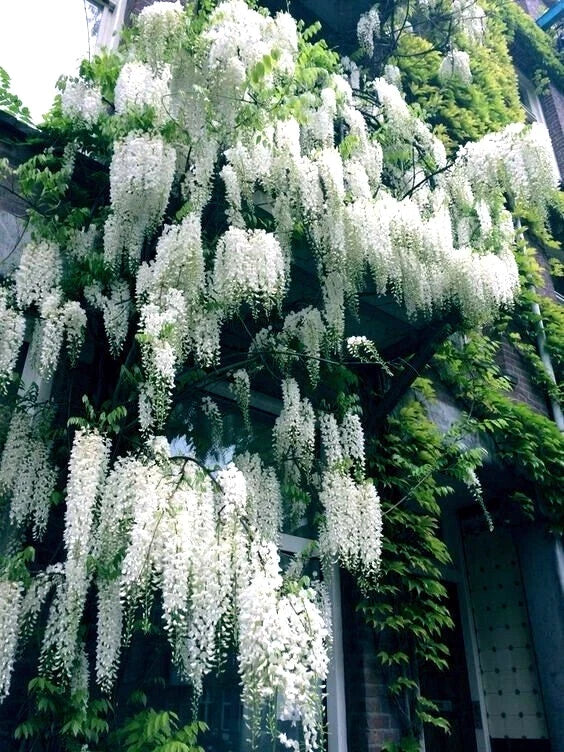
Wisteria floribunda Alba
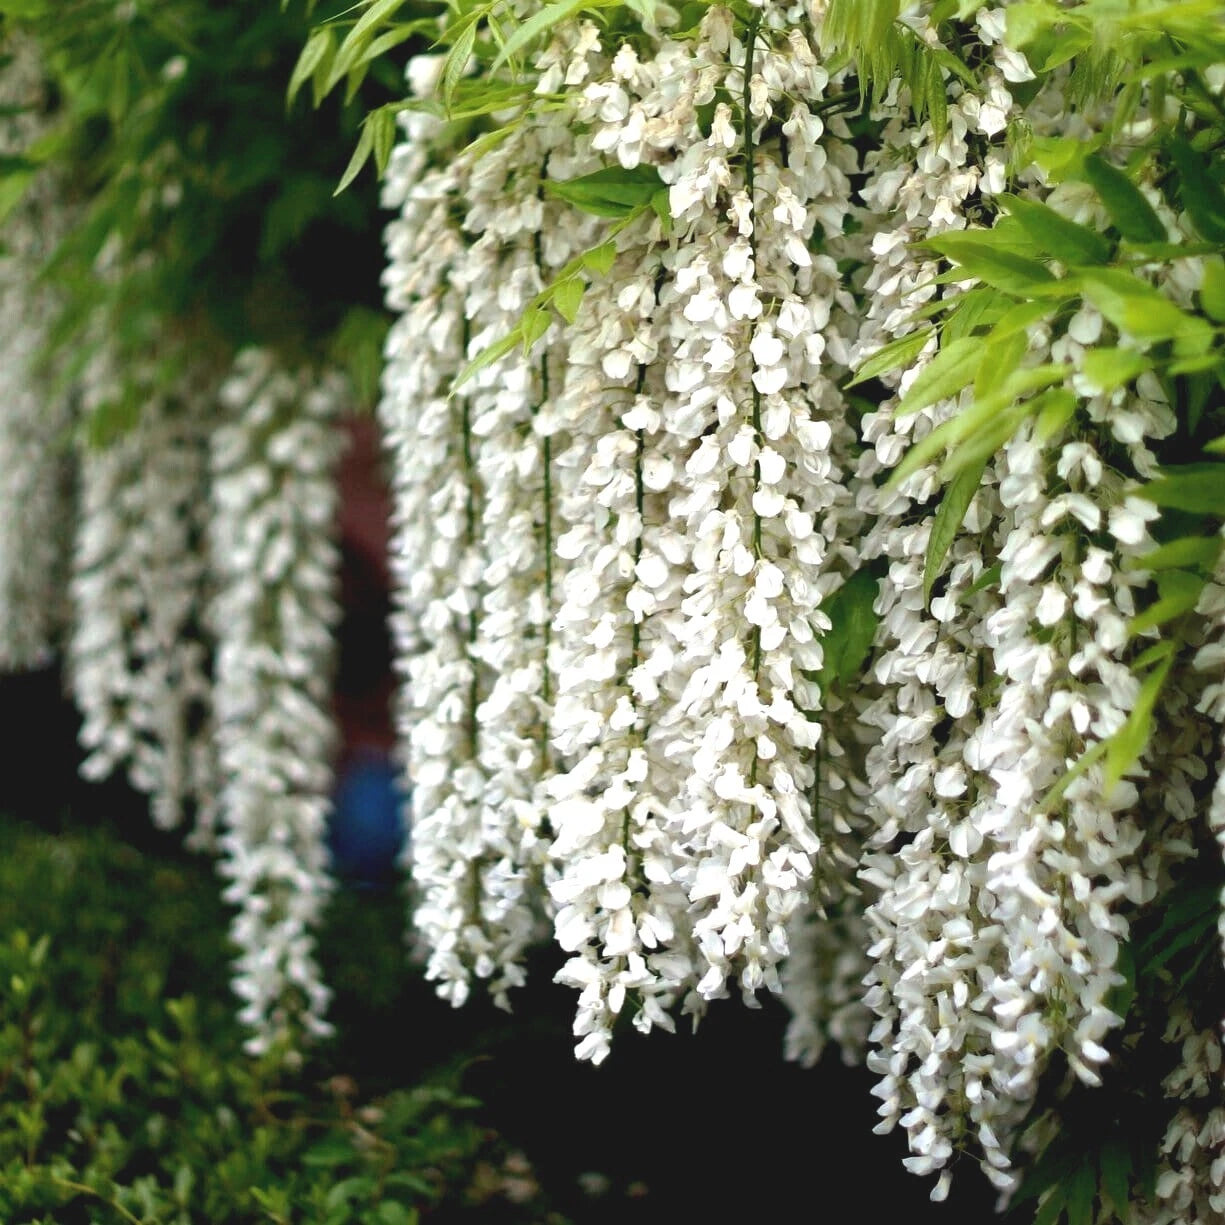
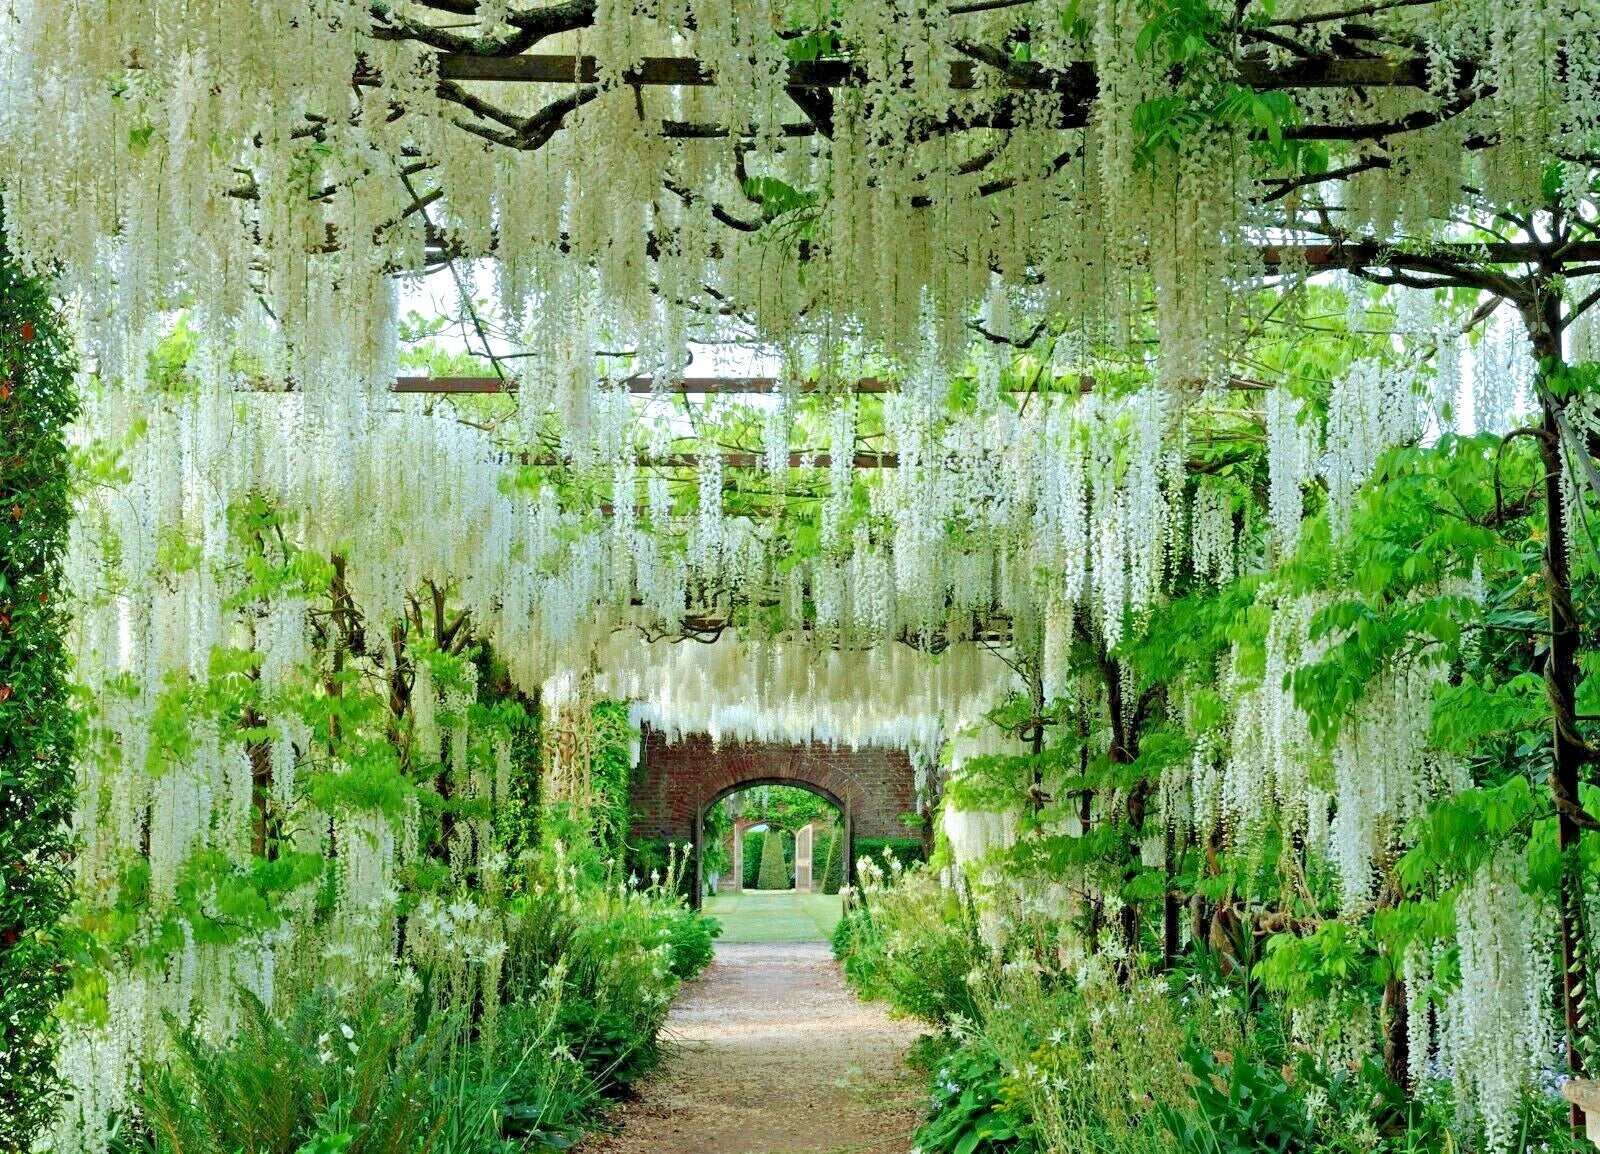
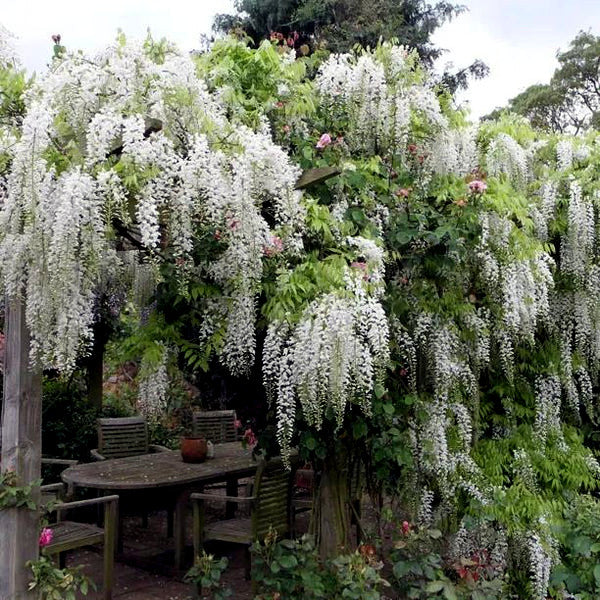
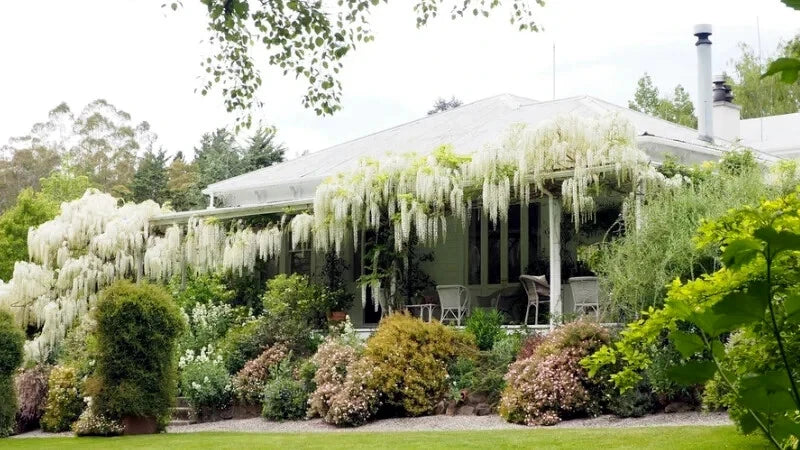
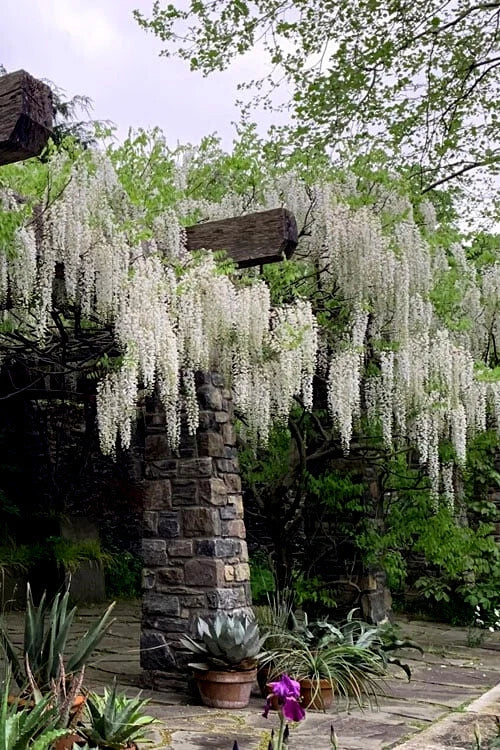
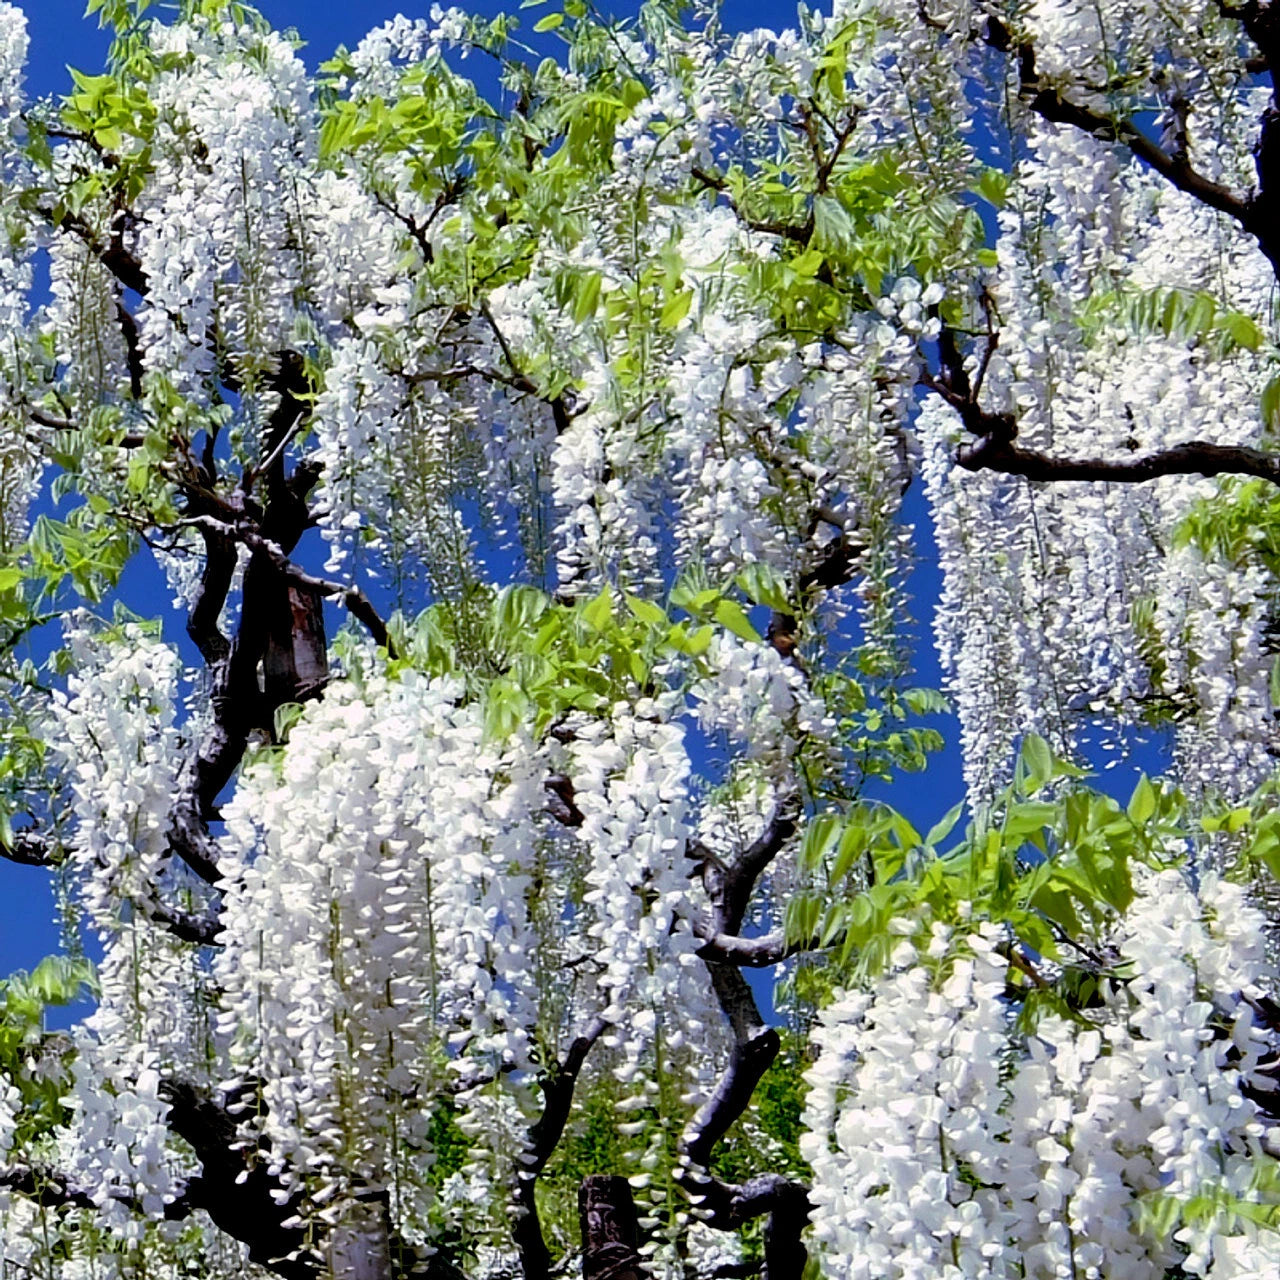
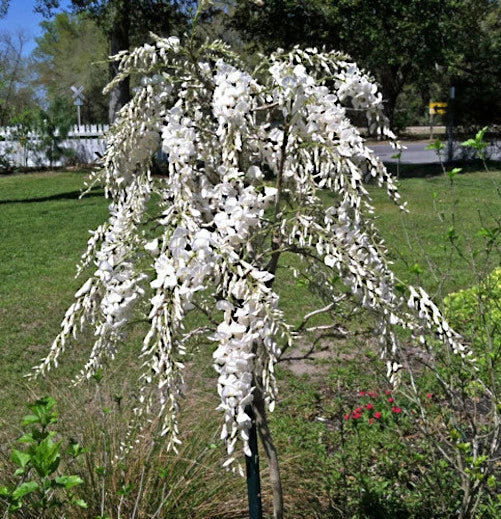
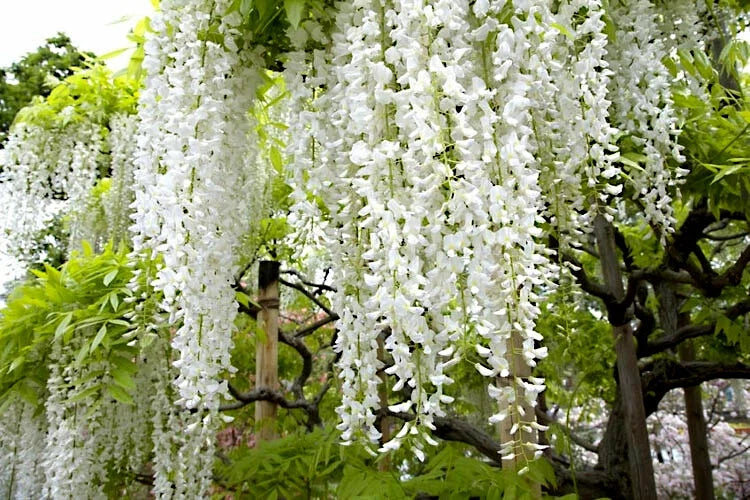
White Wisteria “Alba” produces stunning, fragrant clusters of pure white flowers that can reach up to 24 inches long. This variety is both a beautiful climbing vine and a small tree, ideal for trellises, pergolas, fences, or even trained as a bonsai. Native to Japan, it was introduced to the U.S. in the 1830s and has since become a highly sought-after ornamental plant. Monet famously grew this wisteria at Giverny, France, inspiring many with its cascading white blooms.
🌿 Key Features:
-
Botanical Name: Wisteria floribunda Alba
-
Common Name: White Wisteria “Alba”
-
Growth Habit: Deciduous climbing vine / small tree
-
Height: Up to 60+ feet (when trained)
-
Flower: Pure white, very fragrant, in clusters up to 24 inches long
-
Use: Ornamental, trellises, pergolas, bonsai, gardens
-
Sun: Full sun in northern climates; partial sun/afternoon shade in hotter southern zones
-
Soil: Well-draining, adaptable to various soil types
-
Water: Moderate
-
Hardiness Zones: USDA 5–9
This Wisteria is hardy, long-lived, and can thrive in a variety of soil conditions while offering breathtaking blooms each spring. Its combination of elegance, fragrance, and historical significance makes it a prized addition to any garden or collection.
Wisteria Germination:
1) Unlike many seeds, wisteria seeds don’t require very high temperatures to germinate. But, be Sure to Keep nighttime temperatures above 55 degrees Fahrenheit and daytime temperatures around 75 F.
2) The tough outer hulls need to be weakened slightly to allow the embryo inside to germinate. To scarify them, Rub a file against the edge of the seed to thin the shell works well. Be careful not to go too deep, which will prevent them from germinating.
3) After scarifying the seeds, soak them in hot water for 24 hours to hydrate and further soften the shell. Use a thermos to keep the water warm.
4) It’s best to start the seeds in individual 3-inch pots to give the seedlings plenty of space to grow for their first few weeks of life. Choose pots with drainage holes around the bottom and fill them with a soilless seed-starting mixture because it’s sterile, moisture retentive and free from weed seeds, unlike some standard potting soils.
5) Sow wisteria seeds 2 inches deep, then set the pots on a tray to catch any water that leaks from the drainage holes; then drizzle water into each pot to settle the soil.
6) Check the moisture level in the growing mixture every day and mist the soil with water whenever it feels mostly dry on the surface. Don’t let the soil dry out completely, but also don’t keep it dripping wet because the seeds might rot.
7) Wisteria seeds will take 1-2 Months to sprout, at which point, move the pots near a bright, sunny window to encourage growth.
"If you need Anything, Please Contact us First"
Germinación de glicinas:
1) A diferencia de muchas semillas, las semillas de glicina no requieren temperaturas muy altas para germinar. Pero asegúrese de mantener las temperaturas nocturnas por encima de los 55 grados Fahrenheit y las temperaturas diurnas alrededor de los 75 F.
2) Las cáscaras exteriores duras deben debilitarse ligeramente para permitir que el embrión en el interior germine. Para escarificarlas, frotar una lima contra el borde de la semilla para adelgazar la cáscara funciona bien. Tenga cuidado de no profundizar demasiado, ya que evitará que germinen.
3) Después de escarificar las semillas, remójelas en agua caliente durante 24 horas para hidratar y ablandar aún más la cáscara. Use un termo para mantener el agua caliente.
4) Es mejor comenzar a sembrar las semillas en macetas individuales de 3 pulgadas para darles a las plántulas mucho espacio para crecer durante sus primeras semanas de vida. Elija macetas con orificios de drenaje alrededor del fondo y llénelas con una mezcla para iniciar semillas sin tierra porque es estéril, retiene la humedad y no contiene semillas de malezas, a diferencia de algunas tierras para macetas estándar.
5) Siembre las semillas de glicina a 5 cm de profundidad, luego coloque las macetas en una bandeja para recoger el agua que se filtre por los orificios de drenaje; luego rocíe agua en cada maceta para asentar la tierra.
6) Controle el nivel de humedad en la mezcla de cultivo todos los días y rocíe la tierra con agua cuando sienta que está mayormente seca en la superficie. No deje que la tierra se seque por completo, pero tampoco la mantenga mojada porque las semillas podrían pudrirse.